The real title for this post should be:
"Good things come to those who wait!"
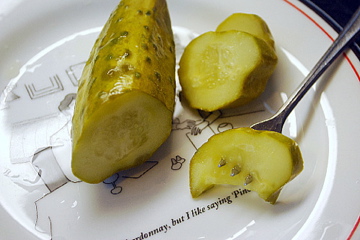 Yes, these DO taste as good as they look. Maybe better!
I started talking about fermenting cucumbers and making NYC-style Sour Dill Pickles in my last blog post, but you know what? These pickles deserve their very own article, not just being the caboose of my last post.
I am going to keep this as simple as possible, so here are the 5 basic steps:
1.) You will need some pickling cukes and something to ferment them in, plus a brine made from water & sea salt, garlic cloves, fresh flowering dill heads, and fresh grape, oak, or cherry leaves. (The tiny mild Apache peppers I used, or peppers of any kind, are strictly optional.)
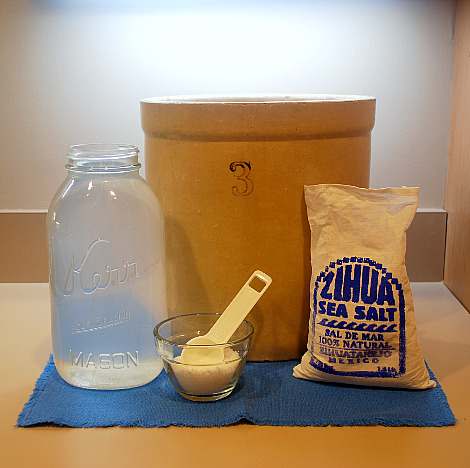 Brine ingredients
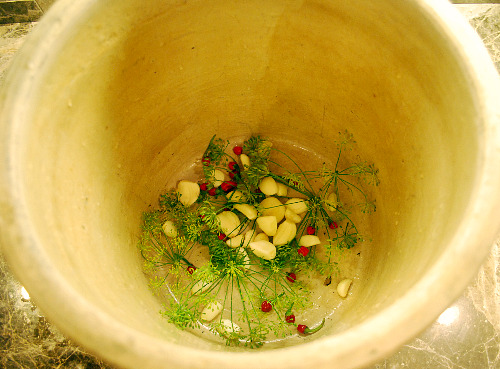 First, place garlic cloves, dill heads, and dwarf Apache peppers in the crock.
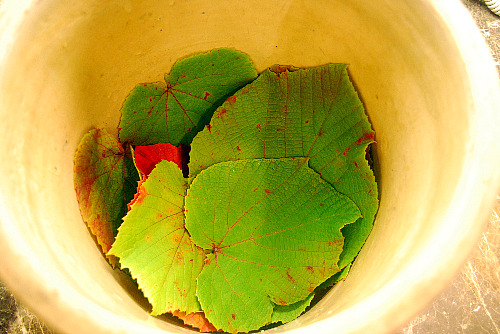 Then cover those with about 8 or 10 just-picked grape leaves
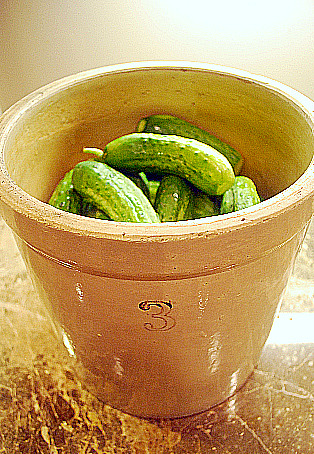 Add 5 pound of scrubbed pickles, with 1/8" trimmed off the blossom ends.
Cover this with about a gallon of brine. To make brine, stir 1/2 cup sea salt or kosher salt into 1 gallon very warm filtered water until it dissolves, then let it cool to room temperature.
2.) Be sure you make enough brine to cover the cukes. Then cover with a plate, and put a weight on top of the plate, to keep the cucumbers submerged.
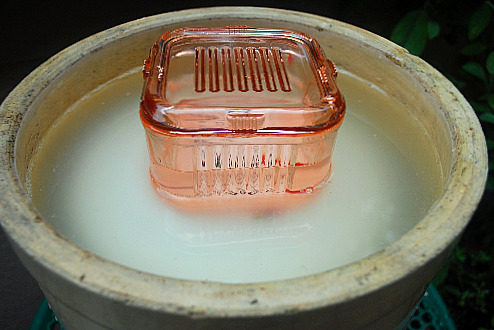 Vintage glass storage container, filled with brine, makes the perfect weight.
3.) Cover with a tea towel, to keep out bugs and Pugs and dust and anything else that doesn't belong in with your pickles.
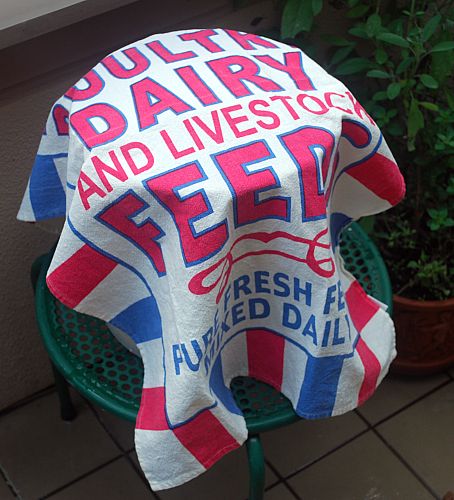 Tea Towel, keeping the brine free from pests and stuff.
Keep your crock someplace it won't be disturbed, at a temp of around 65-70 degrees. It is the perfect temperature right on our second floor balcony. I did cover it with a slightly convex plastic lid at times, to keep out the occasional rain shower. It's important to keep out the rain, or it will dilute the brine!
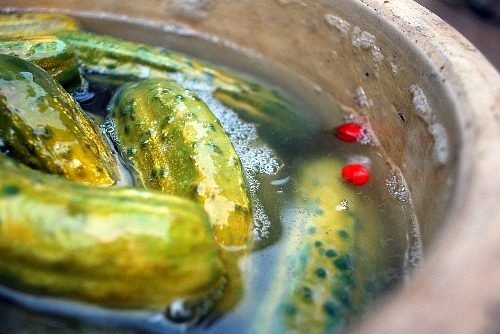
4.) Check it EVERY day. Skim off any foam or mold that you find on the surface. Watch for bubbles...those are good!
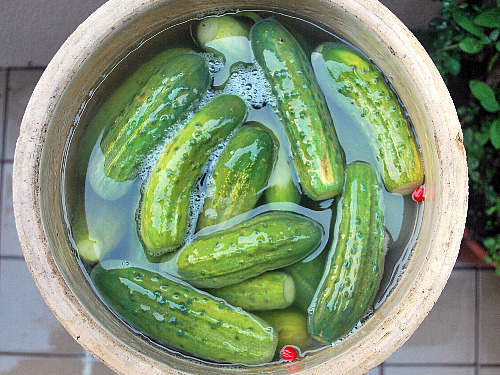
When you remove the cover plate and weight to check for signs of fermentation, remember to wash them thoroughly with hot soapy water, and then rinse them both well before putting them back on top of the brine and cukes.

The photo above is Day Five, and the photo to the right is Day Eight. Signs of fermentation were barely apparent at Day Five, but by Day Eight I found foam, and a slight scum on the surface, as well as some mold trying to attach to the tiny Apache peppers.
5.) After skimming the surface of any foam and mold, I decided to taste one. I wasn't sure they would be ready. I knew from past experience, and from reading a fantastic book (and companion website) called "Wild Fermentation", by Sandor Felix Katz, that it might take anywhere from 1 to 4 weeks, depending on the temperature, for the cukes to become pickles.
Well, let me tell you...one week and a day later...they are ready! Incredible. Salty, like the sea. Fresh dill flavors come through beautifully. The perfect amount of garlic. Crisp.
I was only going to taste a slice, but I just kept slicing...and eating...
I munched my way through that sour dill in a matter of minutes.
Later today, I'll put the NYC-style Sour Dill Pickles in jars and stow them away in our fridge, to stop the fermentation. I can hardly wait to refill another crock with fresh cukes. This time, however, I'm climbing up on the ladder and getting down the REALLY BIG 'OL crock.
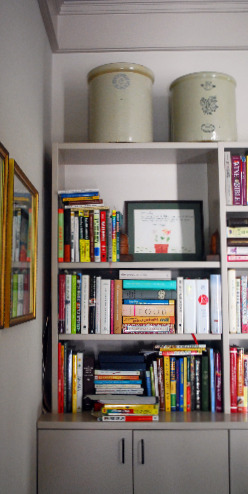
Next time?
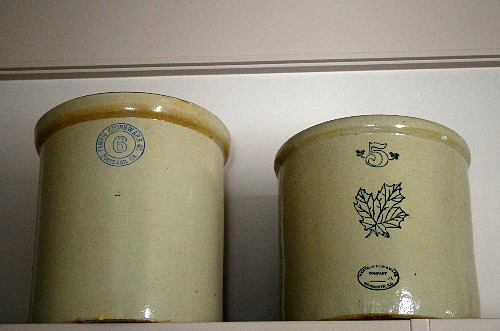 6 gallons!
Duris Cucumber Farm, here I come..........